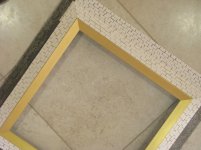
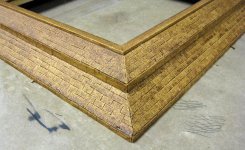
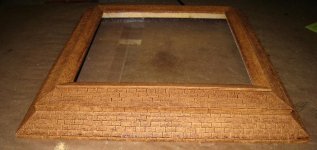
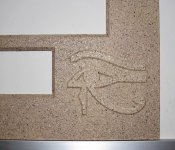
There's a bit of a story about this piece. In September 2010, Mike and I went on a European cruise for 12 days. One of the places we visited was Egypt. We visited Saqqara and the site of the Stepped Pyramid of Djoser. The nearby temple complex is a wide open space, with lots of sand (of course) and small rocks. We happened across a small piece of what looks to be red granite, with marks on it that looked almost like hieroglyphs. It was very cool, but unlikely to be anything significant, as the rock is very tiny. While touring the site, I carried the rock around with me, kinda just fidgeting it while I walked around. Kinda forgot to drop it, and the rock ended up coming home with us. When I found it later, I knew I wanted to put the rock together with a picture of the pyramid, and I wanted it to be something that really captured the feel of where it came from. This is the result.

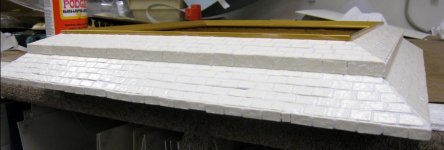
Side view too:

Sorry so large. Couldn't figure out how to resize them locally, and was too lazy to open up PhotoShop.")
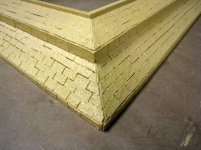
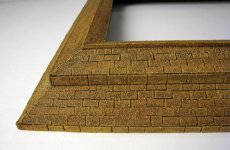
Side view too:
Sorry so large. Couldn't figure out how to resize them locally, and was too lazy to open up PhotoShop.